Site Map FAQ Link Contact About
Step 2
Installing The Motor
There are 4 different alternatives for motor mounting position and each one has it's own pros and cons.
So how would you know which one to choose?
- Check for safety considerations so you will know which one you can consider and which one you can't.A common safety issue is the front fork. There is a trade-off between strengths and weight between different materials. Alloy forks is lighter then steel forks but they are also more brittle. To read further about safety considerations, click here.
- Decide on the motor power and type (again, with safety in mind) that would give you the best answer for your needs.You can buy electric motors with different power outputs, 250W, 350W, 500W, 750W, etc. Log on to the power calculator, wheel size and the electric motor pages for more clarification and guidance.
- Ease of installation. Always have in mind how hard is it going to be to actually install the kit on your bicycle.Front wheel drive conversion kits are the “norm”. They are the easiest to install because all you have to do is basically just replacing a wheel. You simply remove the old wheel from your bike, and fit the new electrical drive wheel into its place, but they are also the most risker if you have a brittle front fork and they may not deliver the best performance in comparison with other types of kits..In contrast, the chain drive (or mid drive) installation is more complex, but it offers some advantages that well worth it for some types of uses.
And for the more adventurous among us, another alternative is to install two motors on the same bicycle. Front and rear/mid wheel drives is an option, for example. Here are the 4 types of motor mounting positions, click on any of the links for further information:
| Rear Wheel Drive | Friction Drive |
|---|---|
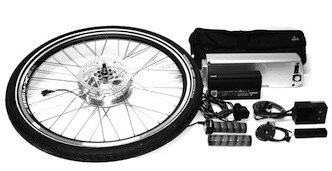 (eZee Kit) |
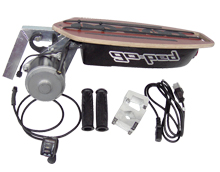 (GoPed Kit) |
| Front Wheel Drive | Mid Wheel Drive |
|---|---|
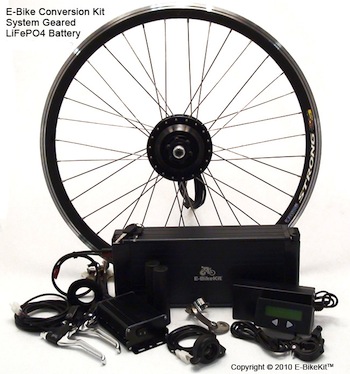 (E-BikeKit Kit) |
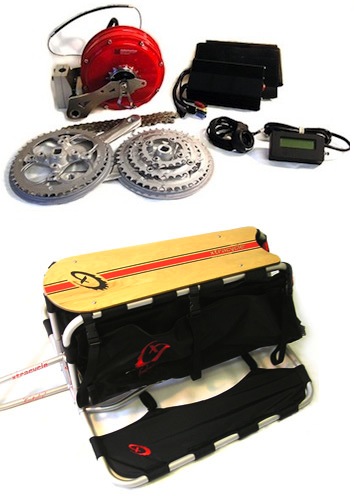 (Stokemonkey Kit) |
- Step 1 - Make Sure Your Bike is Suitable for Conversion
- Step 2 - Installing the motor
- Step 3 - Installing the throttle, console and brakes
- Step 4 - Installing and securing the battery pack and controller
- Step 5 - Running The Wiring
- Step 6 - Final adjustments and Safety considerations
Return from Step 2 - Installing The Motor to Electric Bike Kit


|


New! Comments
Have your say about what you just read! Leave me a comment in the box below.